Upgrade/Repair Ender 3
My 3D printer's power supply failed and made the mainboard unstable, started blowing breaker (I think false arc faults from EMI) so both needed to be replaced. Since I was taking the machine apart and making changes I decided to overhaul a few things.
Project Punch List:
Essential:
- Replaced mainboard and power supply
- Modelled a bigger chassis for new components and power supply
- Grounded main frame, X axis & gantry, and heatbed
- Replaced poorly designed dual extruder - the steel teeth dug into the aluminum frame(looked like it could fail soon)
Upgrades:
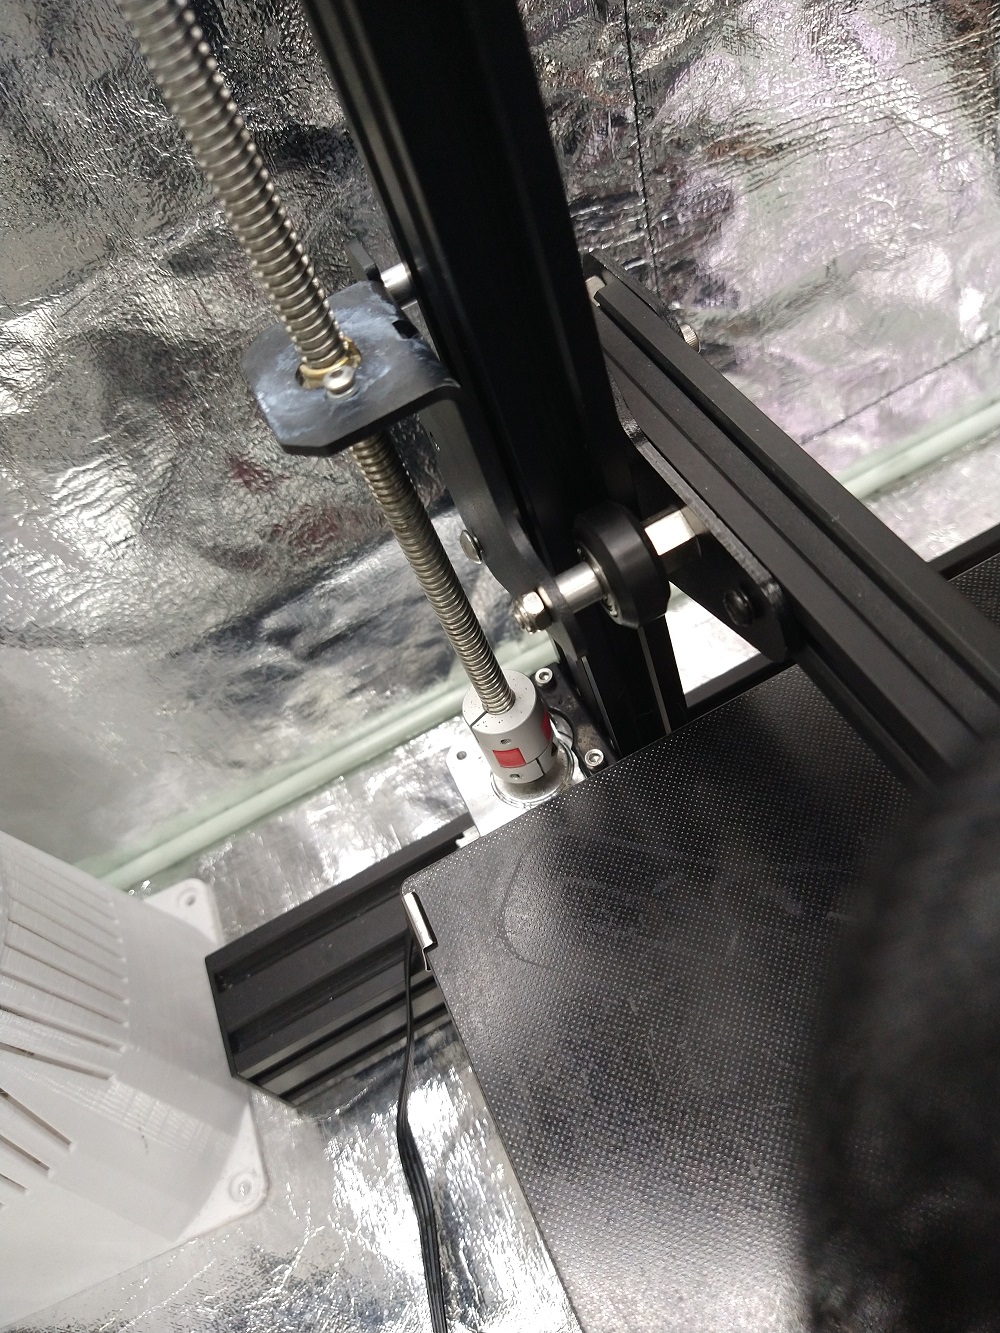
- Installed Dual Z axis and switched to 2mm pitch threaded rods
- Installed power metering module - measures voltage/frequency/current/wattage and total kWh
- Installed new all metal hotend that allows >300C rated thermocouple so eventually printing carbon fiber nylon and other high temp filaments
- Installed higher wattage hotend heating cartridge
- Installed 24 volt cable to supply power to filament dryer
Bottlenecks:
Some problems came up with dual Z axis and thread pitch change.
- Adjusting for the new thread pitch was easy - just increased the steps to 1600steps/mm and print and measure calibration cube then adjusted based on findings
- Had issues with binding/grinding/squealing from the threaded rods binding up in their mounts which was resolved with the following (order of importance)
- Increased the Z motor amperage from the default to ~1 amp - this was the first thing I figured which restored my hope in the project. This increased binding but fixed the issue with only one Z stepper turning and the other partially
- Loosened the bolts holding threaded nut to the X axis which allowed the threaded rod some up/down play on the y axis. Largely eliminated binding
- Lots of dry lube. Decreased squealing
- Installed flexible shaft couplings to the rods. Decreased the chance of binding
The modeling took about 6 hours to do but I procrastinated. Once I moved from having a 2D sketch to having a 3D outline of the bottom I knocked out the rest of the project of the next couple of weeks - modeling and test printing.
Both the Dual Z and the slower pitch threaded rod greatly improved my tall prints. I think this is mostly because of the increased Z precision from the 1600 steps per mm from the 400 I had previously.
 |
 |
 |
|---|---|---|
 |
 |
 |